Orginal da Vinci foot pedals
Description
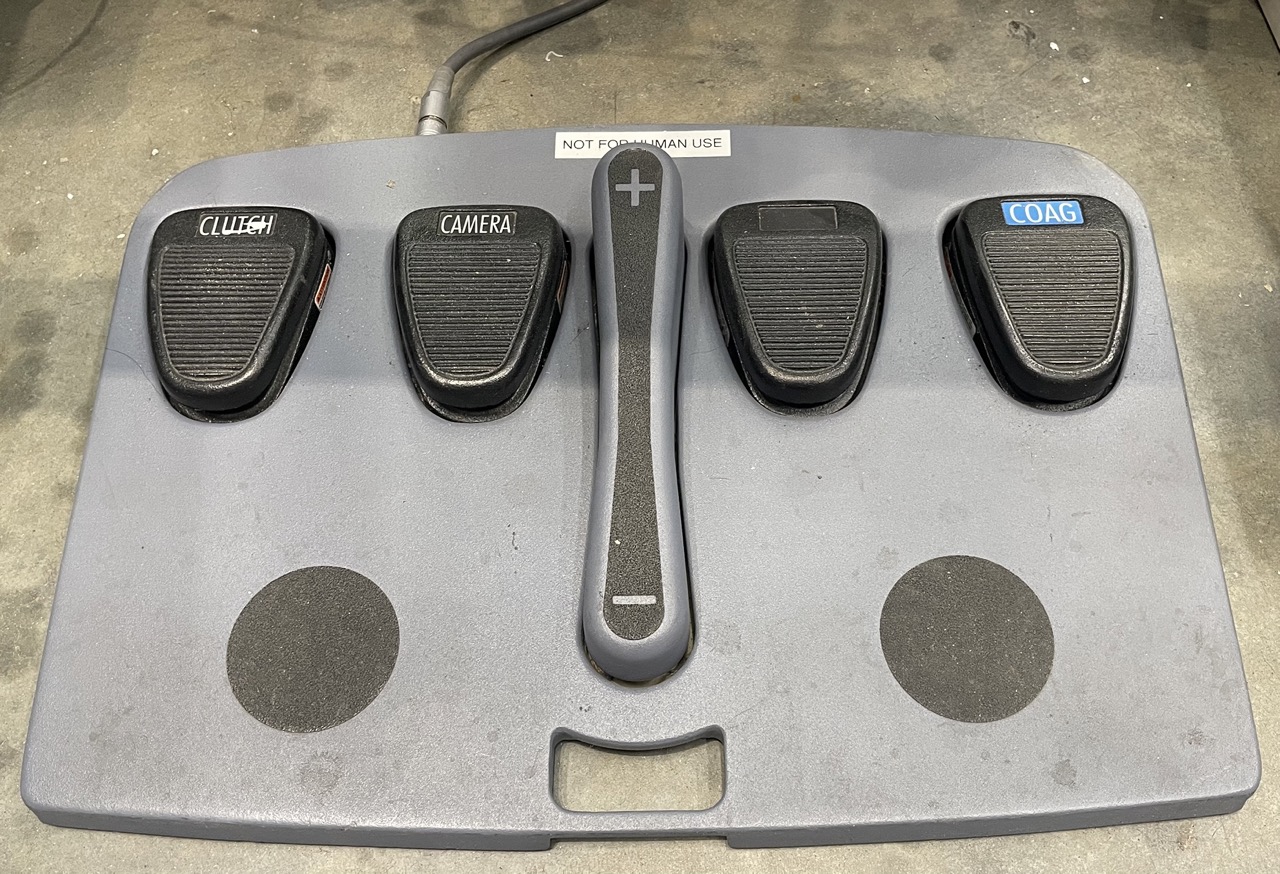
The original da Vinci foot pedal tray has 5 pedals. From left to right: CLUTCH, CAMERA, Focus +/-, GOAG and BI-COAG. The pedals CLUTCH and CAMERA are used to clutch the MTMs and switch to-from PSM vs ECM teleoperation. The Focus +/- is used to control the endoscope focus (there is a custom cable for the dVRK) and cauterization (mono-polar and bi-polar). For the dVRK, we tend to use the COAG pedal as a dead-man switch in lieu of the head sensor.
Foot pedals original connection at base of console
Connection to dVRK controller
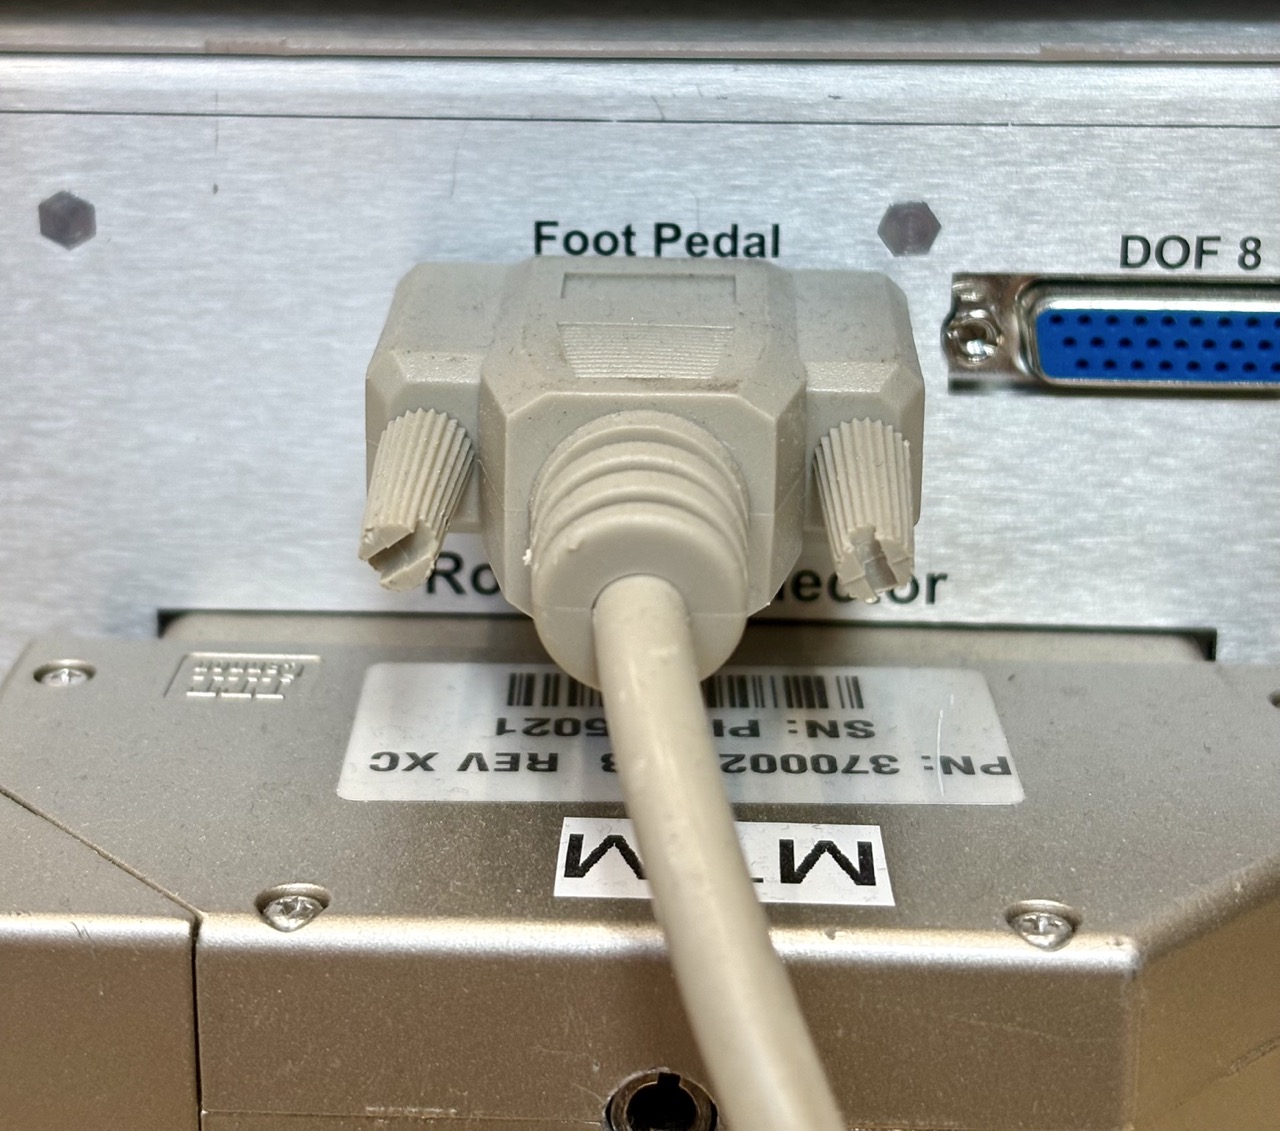
The foot pedal connection can be found on the front of the master console. Removing the tray from the console is a bit tricky. You will first need to unplug the cable from both the foot pedal and the console. On the console side, the connector is hidden under the plastic cover under the stereo display. This plastic cover is holding with clips, so you just have to pull it away.
Foot pedals original connection at base of console
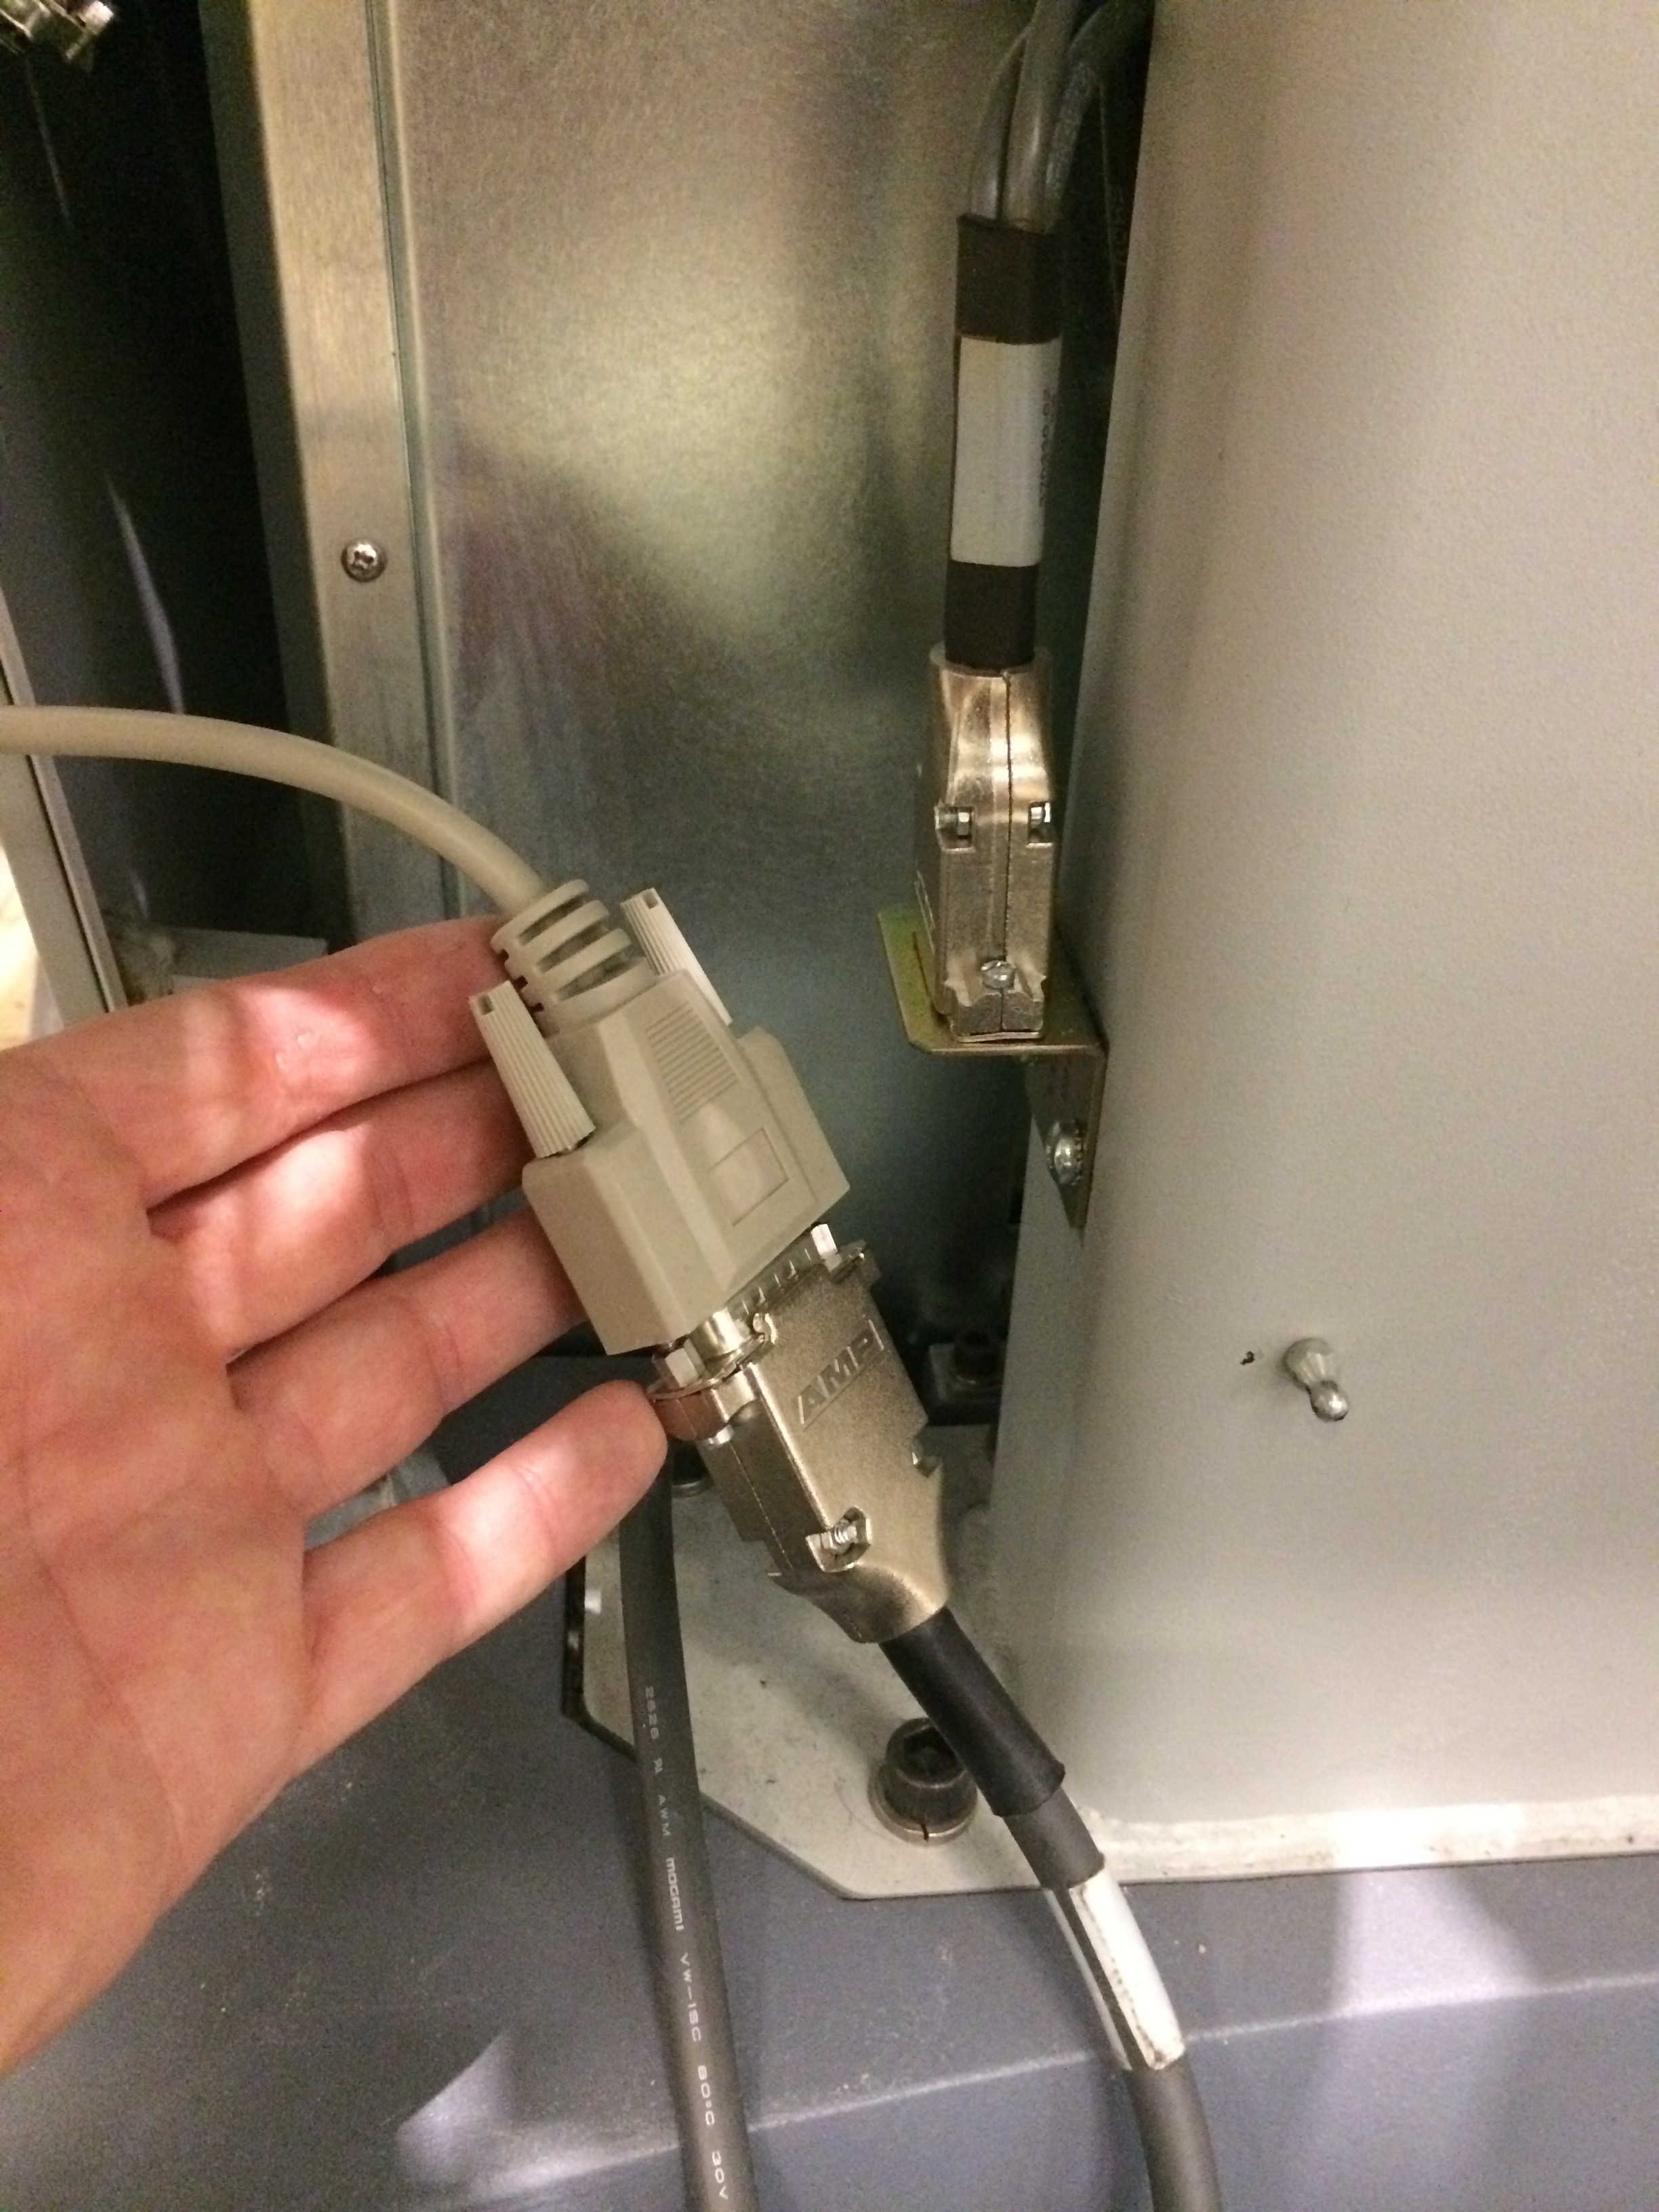
Unplug the bottom part and connect it to the dVRK controller. This cable is rather short, so one might consider investing in an extension cable (e.g. https://smile.amazon.com/Monoprice-6ft-DB15-Molded-Cable/dp/B002LWJ7TA).
Foot pedals connected to dVRK Classic controller
Removing the foot pedal tray
Foot pedals connected to dVRK Classic controller on a full surgeon’s console
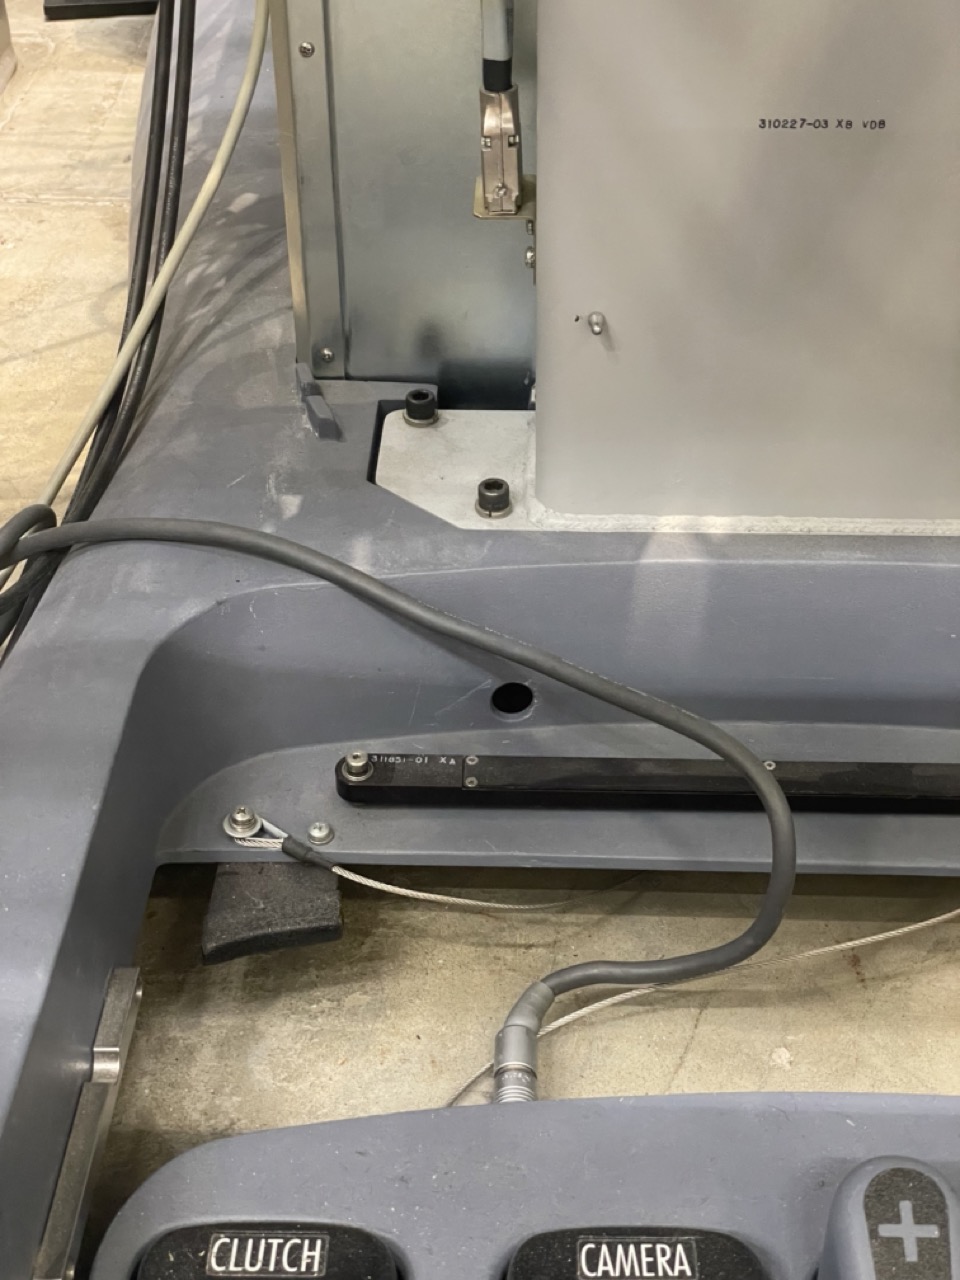
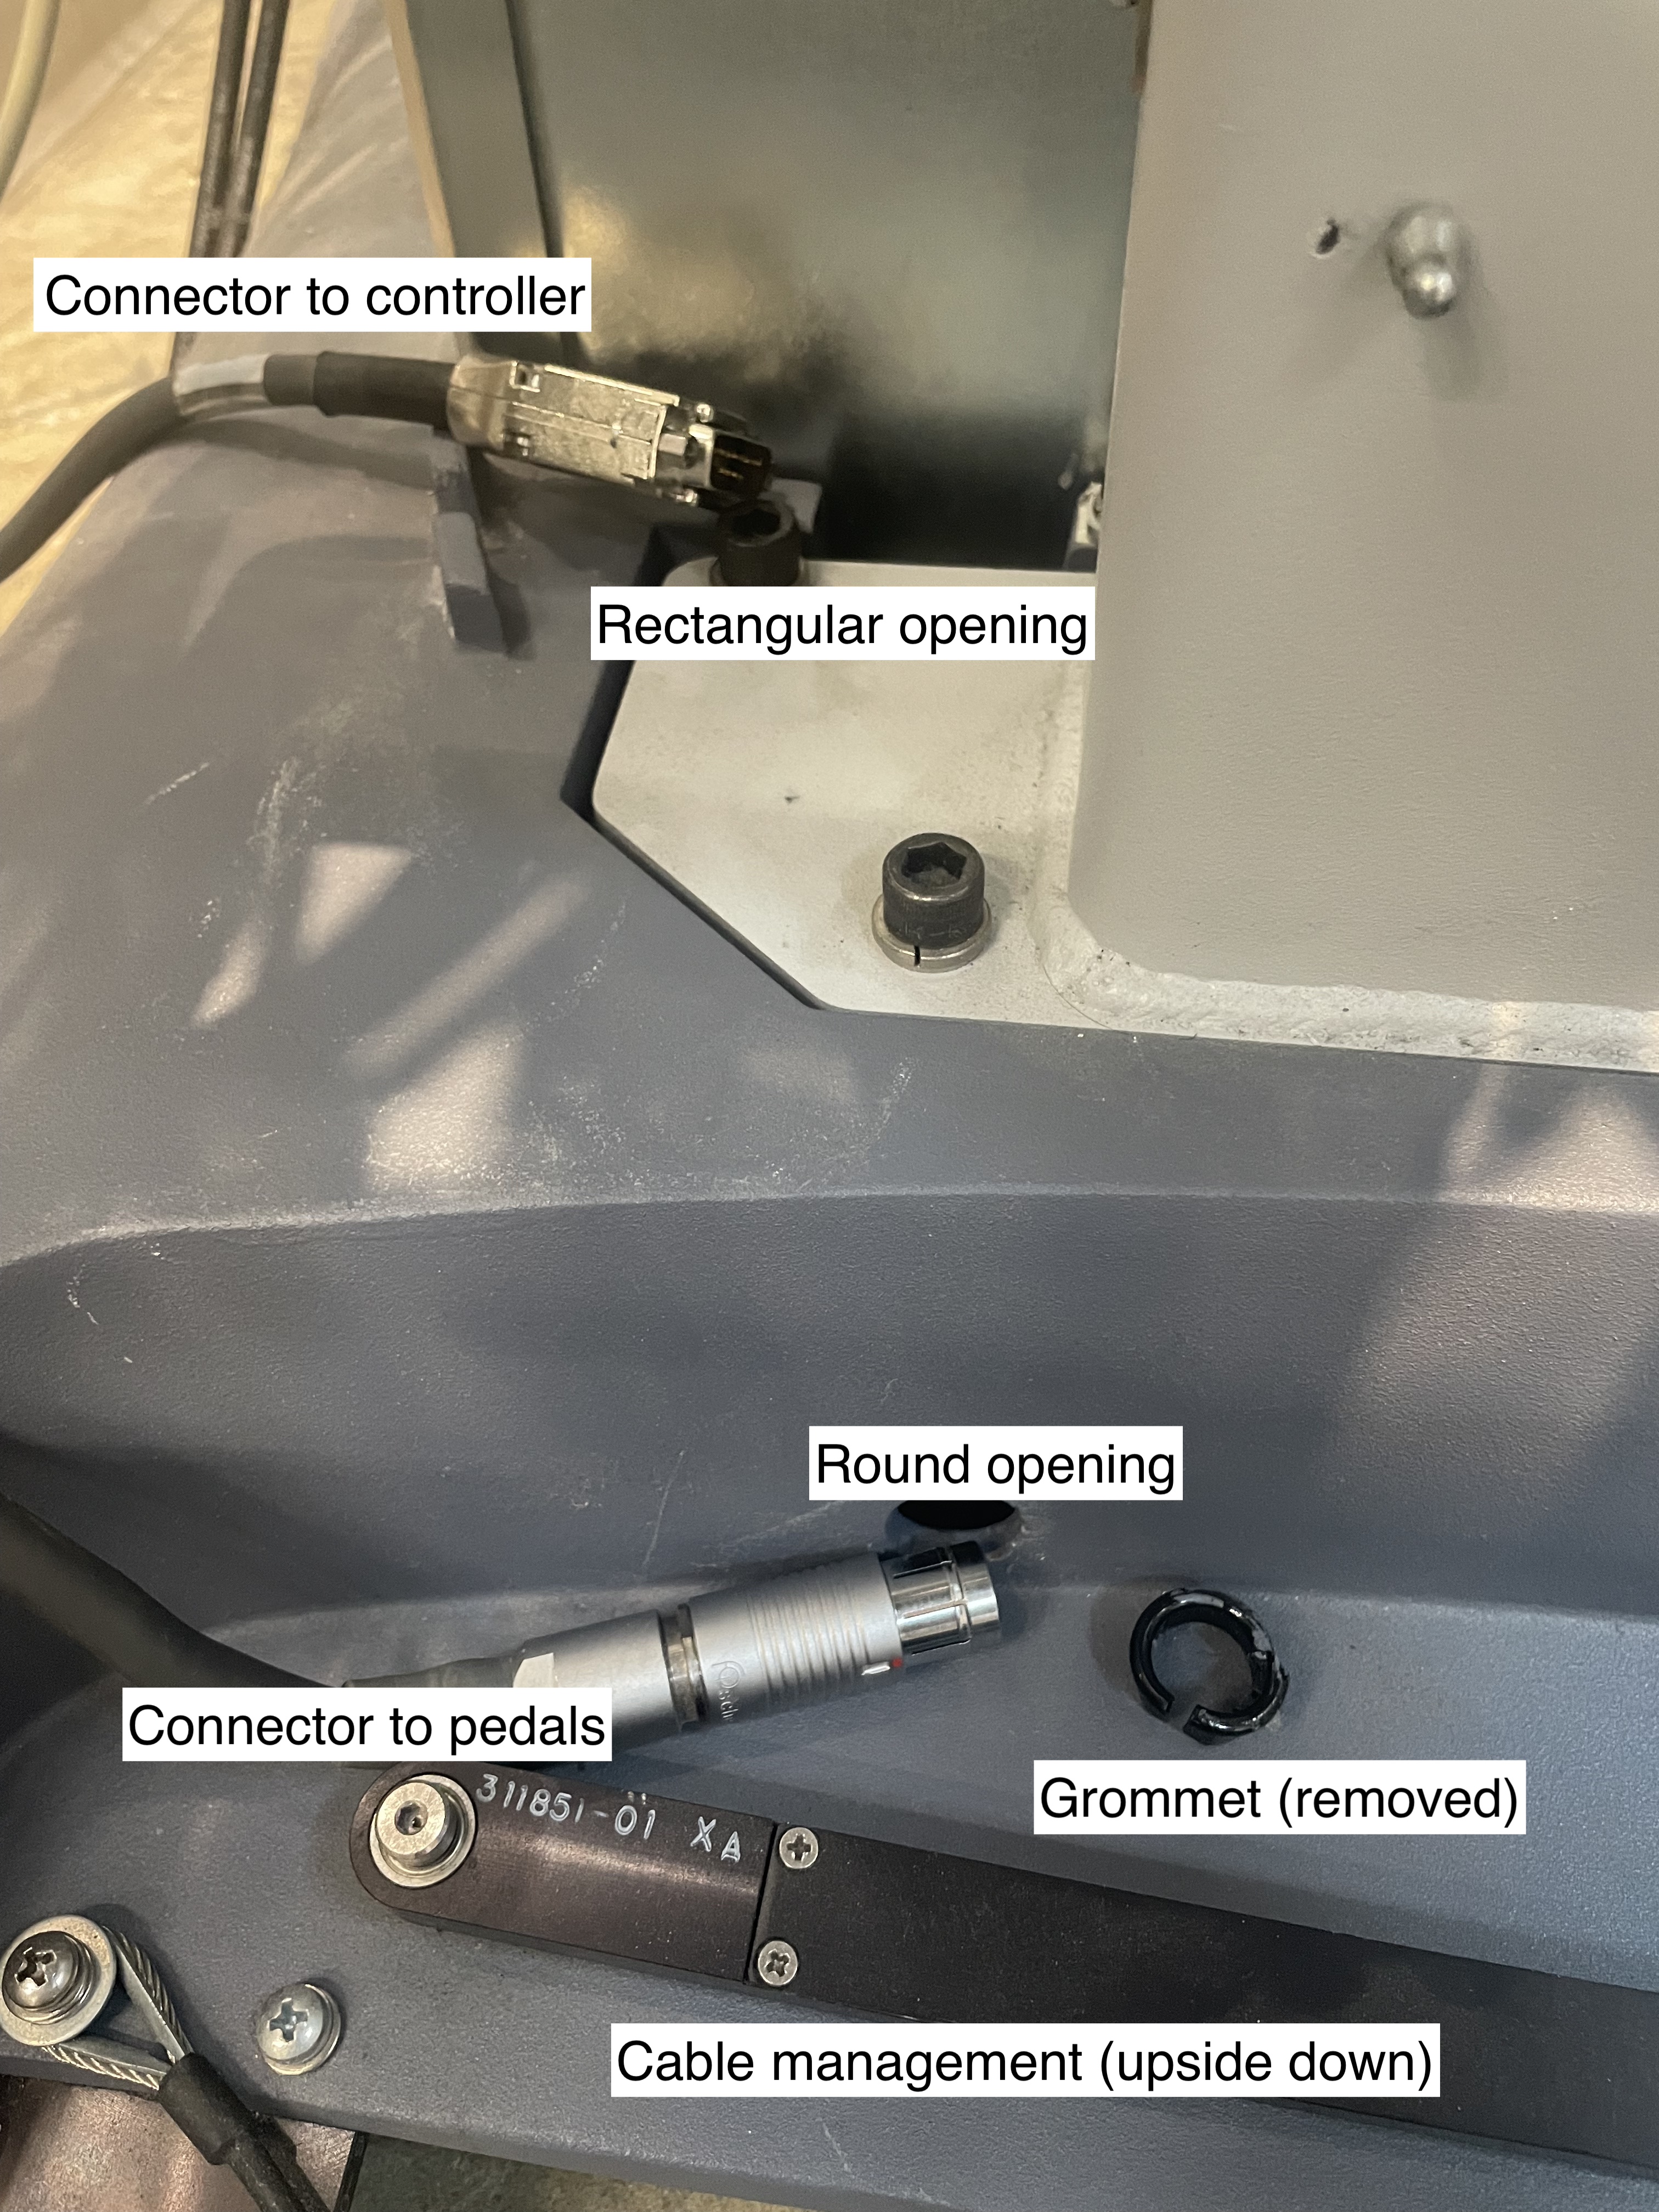
If you’re keeping the surgeon’s console and display, you can leave the foot pedals as-is. But if you plan to build your own mounting frame, you will need to remove the cable from the surgeon’s console. The cable passes through the base and is a bit hard to remove. First, open the cable management bar to free the cable (black articulated arm). Remove the screw at the pivot point, flip the bar upside-down and remove the small Philips screws. At that point, you can remove the black round grommet from the base, so you can push the round connector inside the base. The grommet is glued, so you’ll need to pry it out using a flat head screw-driver. Make sure you don’t damage the cable.
Foot pedals cable path
The next step is to remove the metal cover placed under the console. There is a cavity under the base, but it has a cover holding with 4 9/64 hex screws. You will need to reach out under the console and find the four screws by touch. There is just enough space between the floor and the bottom to use a small Allen wrench. Removing these 4 screws is the trickiest part of the process.
Once the cover plate is removed, push the round connector in the round opening, push the rectangular connector in the rectangular opening, and you’ll be able to pull the cable from under.
Configuration
To configure your console, see foot pedals configuration.