3.3.1. Unboxing
3.3.1.1. Intuitive components
When you received a new component from Intuitive Surgical, we strongly recommend to:
Read the unboxing documentation (password protected page)
Conserve the shipping boxes and reach out to Intuitive to make sure they don’t want them back
If you’re unpacking a Classic PSM, make sure the arm is free to move. Some arms are shipped with a bracket to prevent damage. The bracket is under the soft cover and is made of white Delrin.
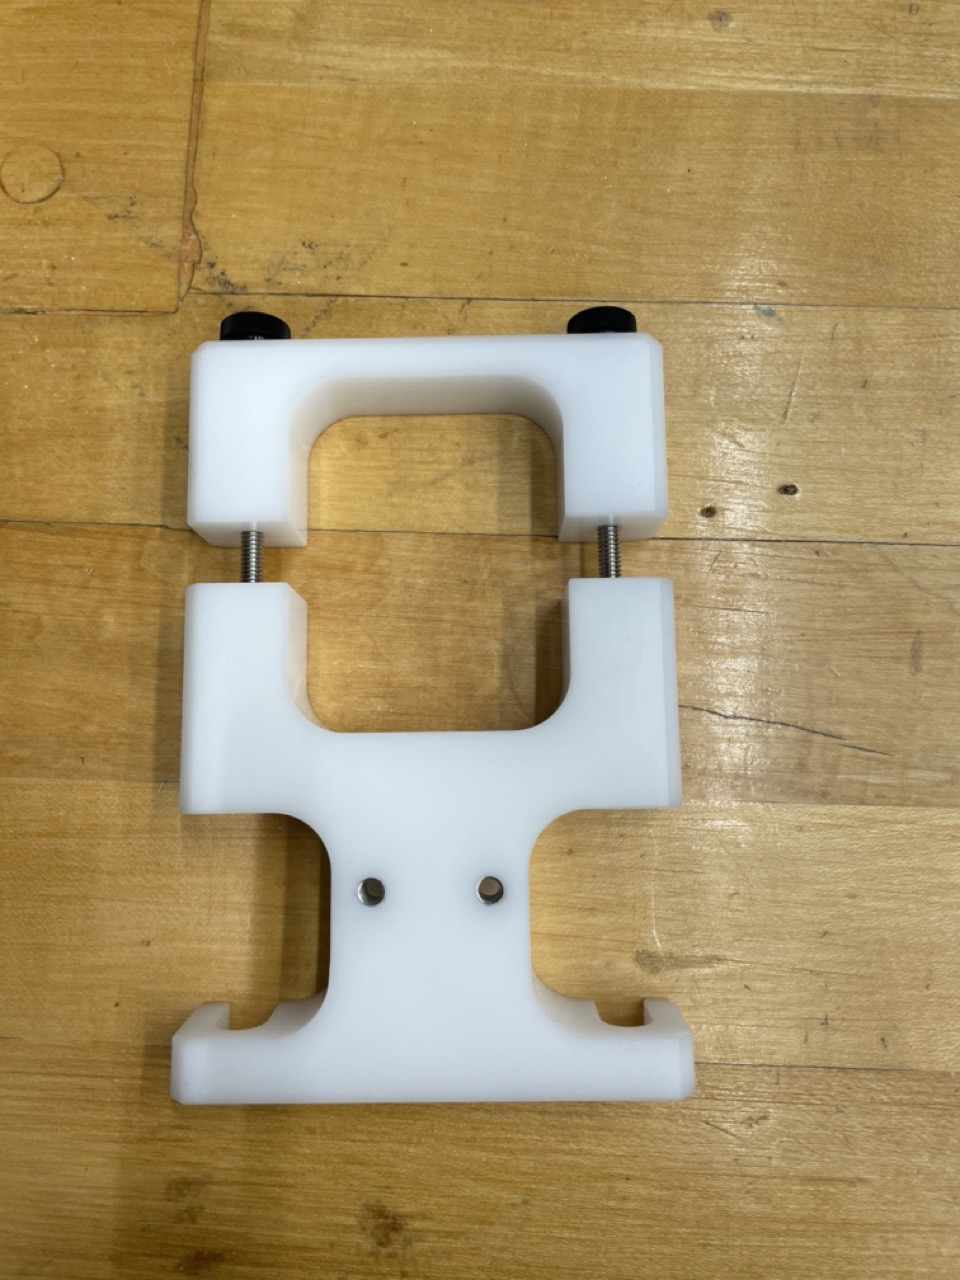
PSM bracket used for transport (to remove)
Visually check what you’ve received to make sure there is no obvious damage (e.g. broken cables on PSM or MTM)
As quickly as possible, start printing and sticking labels on the connectors with the arm name, board ID and/or serial number.
Label on arm connector (bad label! Should be MTMR or MTML)
3.3.1.2. dVRK controllers
Label everything. If your controllers are already labeled, it’s likely someone already opened the controllers, and you can skip the following.
There are three types of controllers, MTM, PSM and ECM. It is important not to mix them as the MTM controllers use a 24V power supply for the first 4 actuators and a 12V power supply for the last 3 actuators while the PSM controllers use a 24V power supply for all 7 actuators. For the ECM, there’s a single 36V power supply for the 4 motors and 3 brakes. You can verify which one is which by opening the controllers. See also Classic controllers.
Once you verified the type of controller, we strongly recommend labeling the controllers with the name of the arm you plan to control along with the board IDs. The board IDs should follow the convention described in the configuration page. For example, a controller for a Classic MTMR using FPGAs V2, the label should read
MTMR (board IDs 2 - 3). It is worth sticking a label on the front and back of the controller.When you will first unbox the controllers, check the internal connections. If you find a cable with a loose end or partially unplugged you’ll have to plug it back. This is quite important, we’ve seen controllers that looked like they were delivered using a roller coaster!. If you are not comfortable re-plugging the cables by yourself, reach out to the dVRK maintainers.

Loose DQLA board after shipping
We recommend plugging all your controllers to a single power strip with a switch. This will ensure that all controllers can be turned on or off using a single button.