3.3.4.8. QLA heat sink upgrade
Introduction
Note
This page is only relevant for groups that received old Classic (FPGA V1 or V2) or Classic SUJ controllers (see controller versions). It is also possible that previous members of your group have already upgraded the QLA heat sinks.
The dVRK Classic controllers use a JHU designed Quad Linear Amps board. The linear amplifiers are all mounted against a large passive heat sink (square aluminum bar). This solution provides some heat dissipation, but this is not enough for the dVRK arms. We unfortunately discovered this a bit late and many of the early controllers have a tendency to overheat. This page describes how to add a fan on the QLA to resolve this issue.
For the ECM and the SUJs, passive cooling is definitely not enough. Make sure you have upgraded your controllers with an extra heat sink and fan. The ECM arm is not as light as the PSMs and requires a fair bit more power. The second joint itself can draw close to 0.5 A continuously.
The MTMs and PSMs can run for- a little while (half hour or so) without any issues but for prolonged usage, we strongly recommend upgrading your controllers with an extra heat sink and fan.
Power source for the fans
The QLA boards have multiple 2 pins 12 V connectors that are powered when the motor power is turned on. We can use these to power a fan for active cooling.
Mounting screws
The screws used to mount the heat sink depend on the QLA serial number. To the best of our knowledge, although the older heat sink drawing indicates metric (M3) threads, we believe most were tapped for Imperial 4-40. The exception is build #3, with QLA S/N 4265-xx.
QLA S/N 4265-xx: Metric M3, 8 mm long
All other QLA: Imperial 4-40, 3/8” long
Recommended solution
We found that a single Pentium Socket 370 heat sink and fan performs very well. There is very little manufacturing required, so users can likely upgrade their controllers by themselves. We used the StarTech FANP1003LD (https://www.amazon.com/dp/B000IXS6DW) with success but other heat-sinks for Socket 370 might work as well.
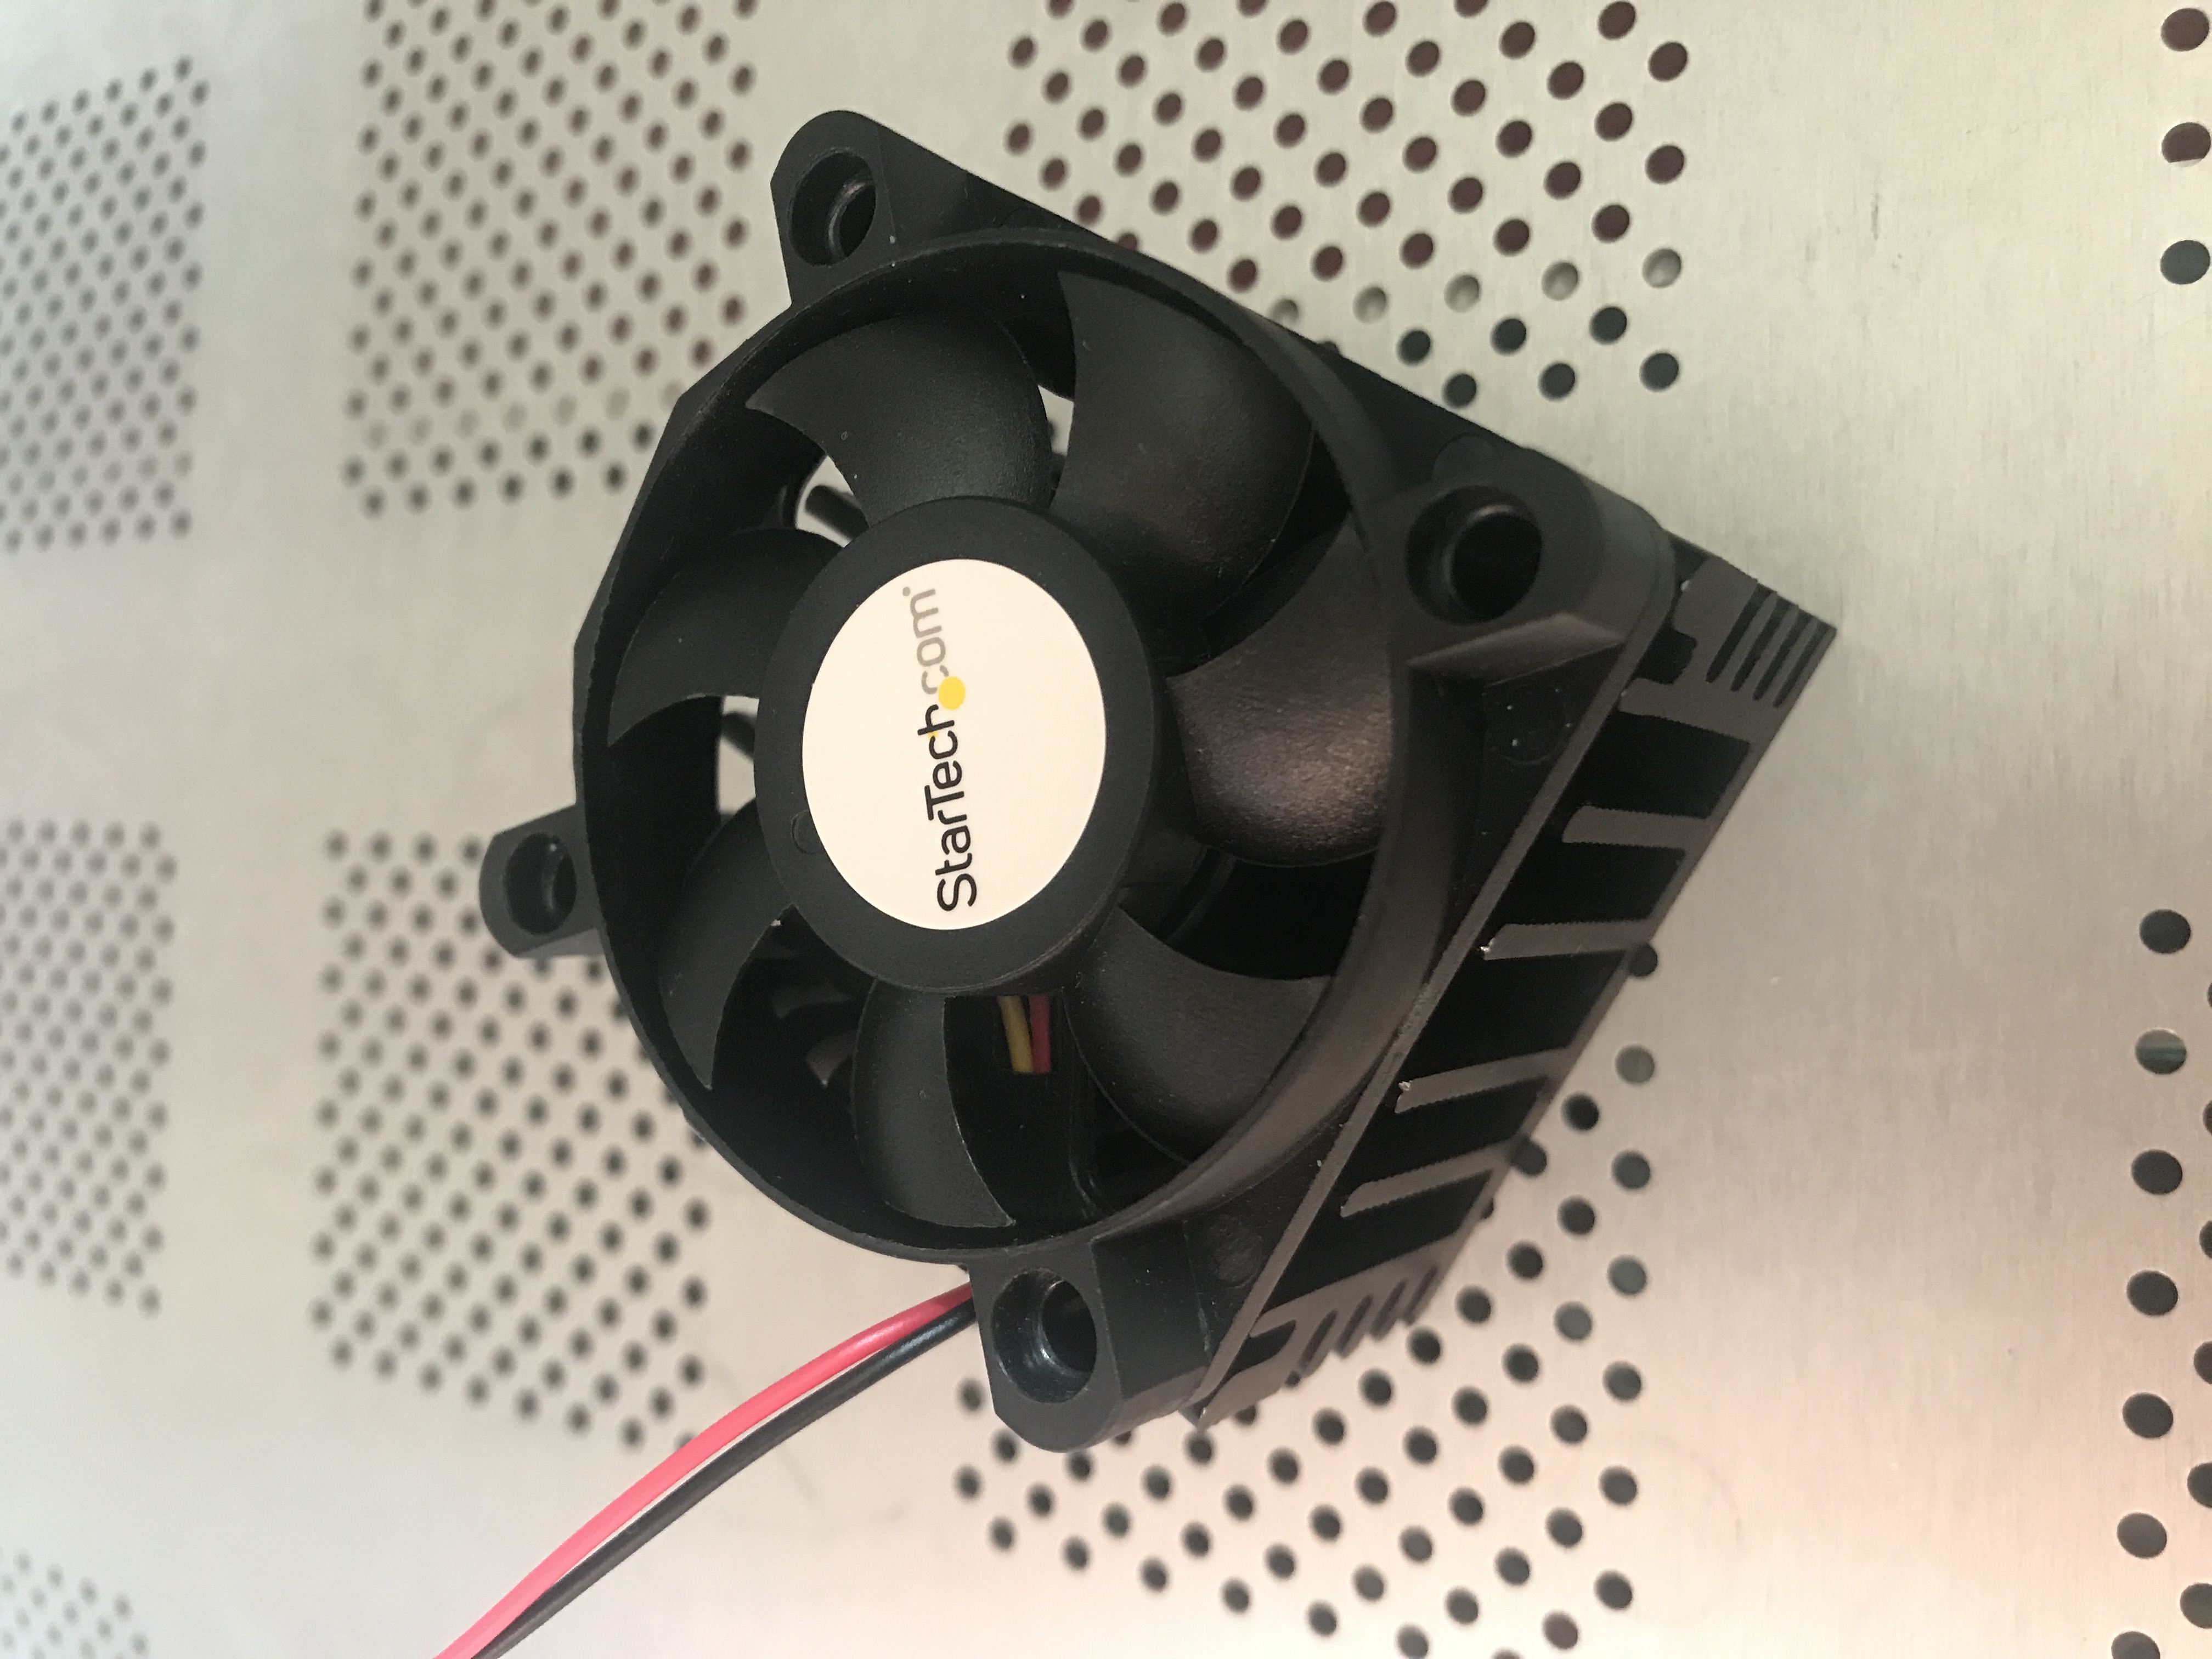
Socket 370 fan
If you decide or need to get a different socket 370 heat sink and fan assembly, make sure there’s a “valley” wide enough in the middle to drill a hole and accommodate a screw head. You will need to drill a single hole in the middle of the heat sink.
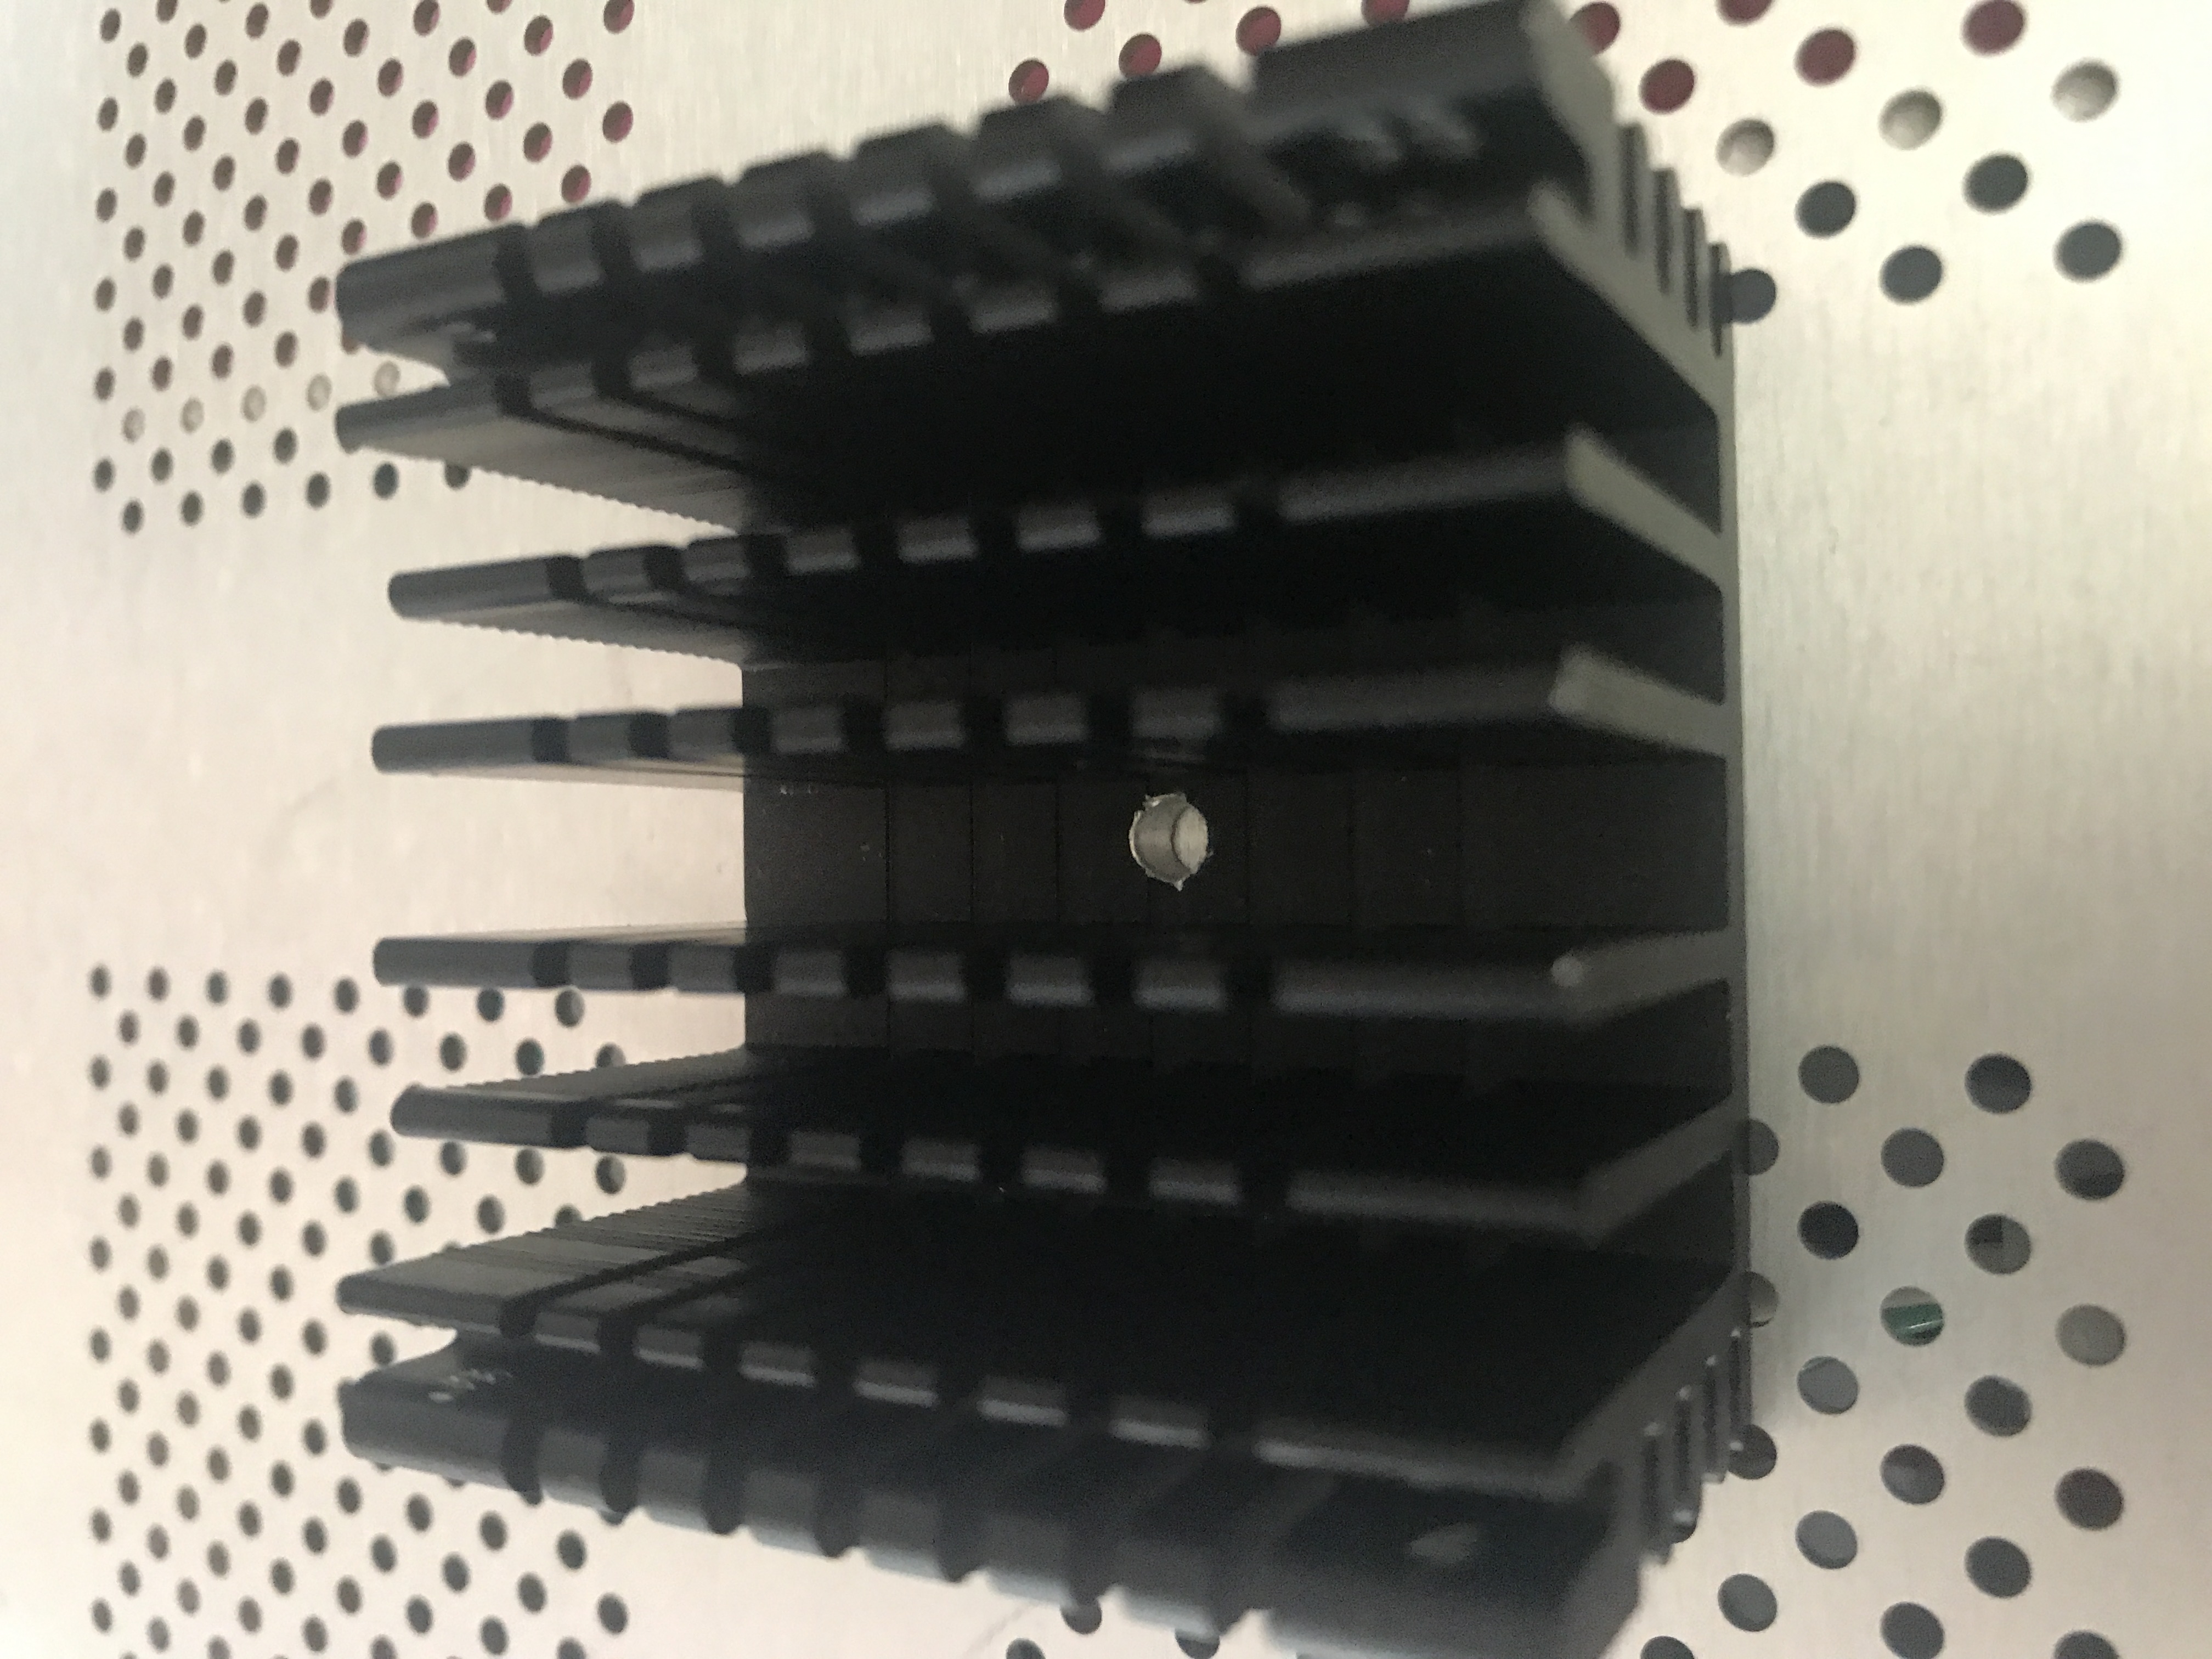
Heat sink with hole
Once you’ve drilled the heat sink and located the screw to attach it, apply some thermal paste between the new heat sink and the QLA heat sink:
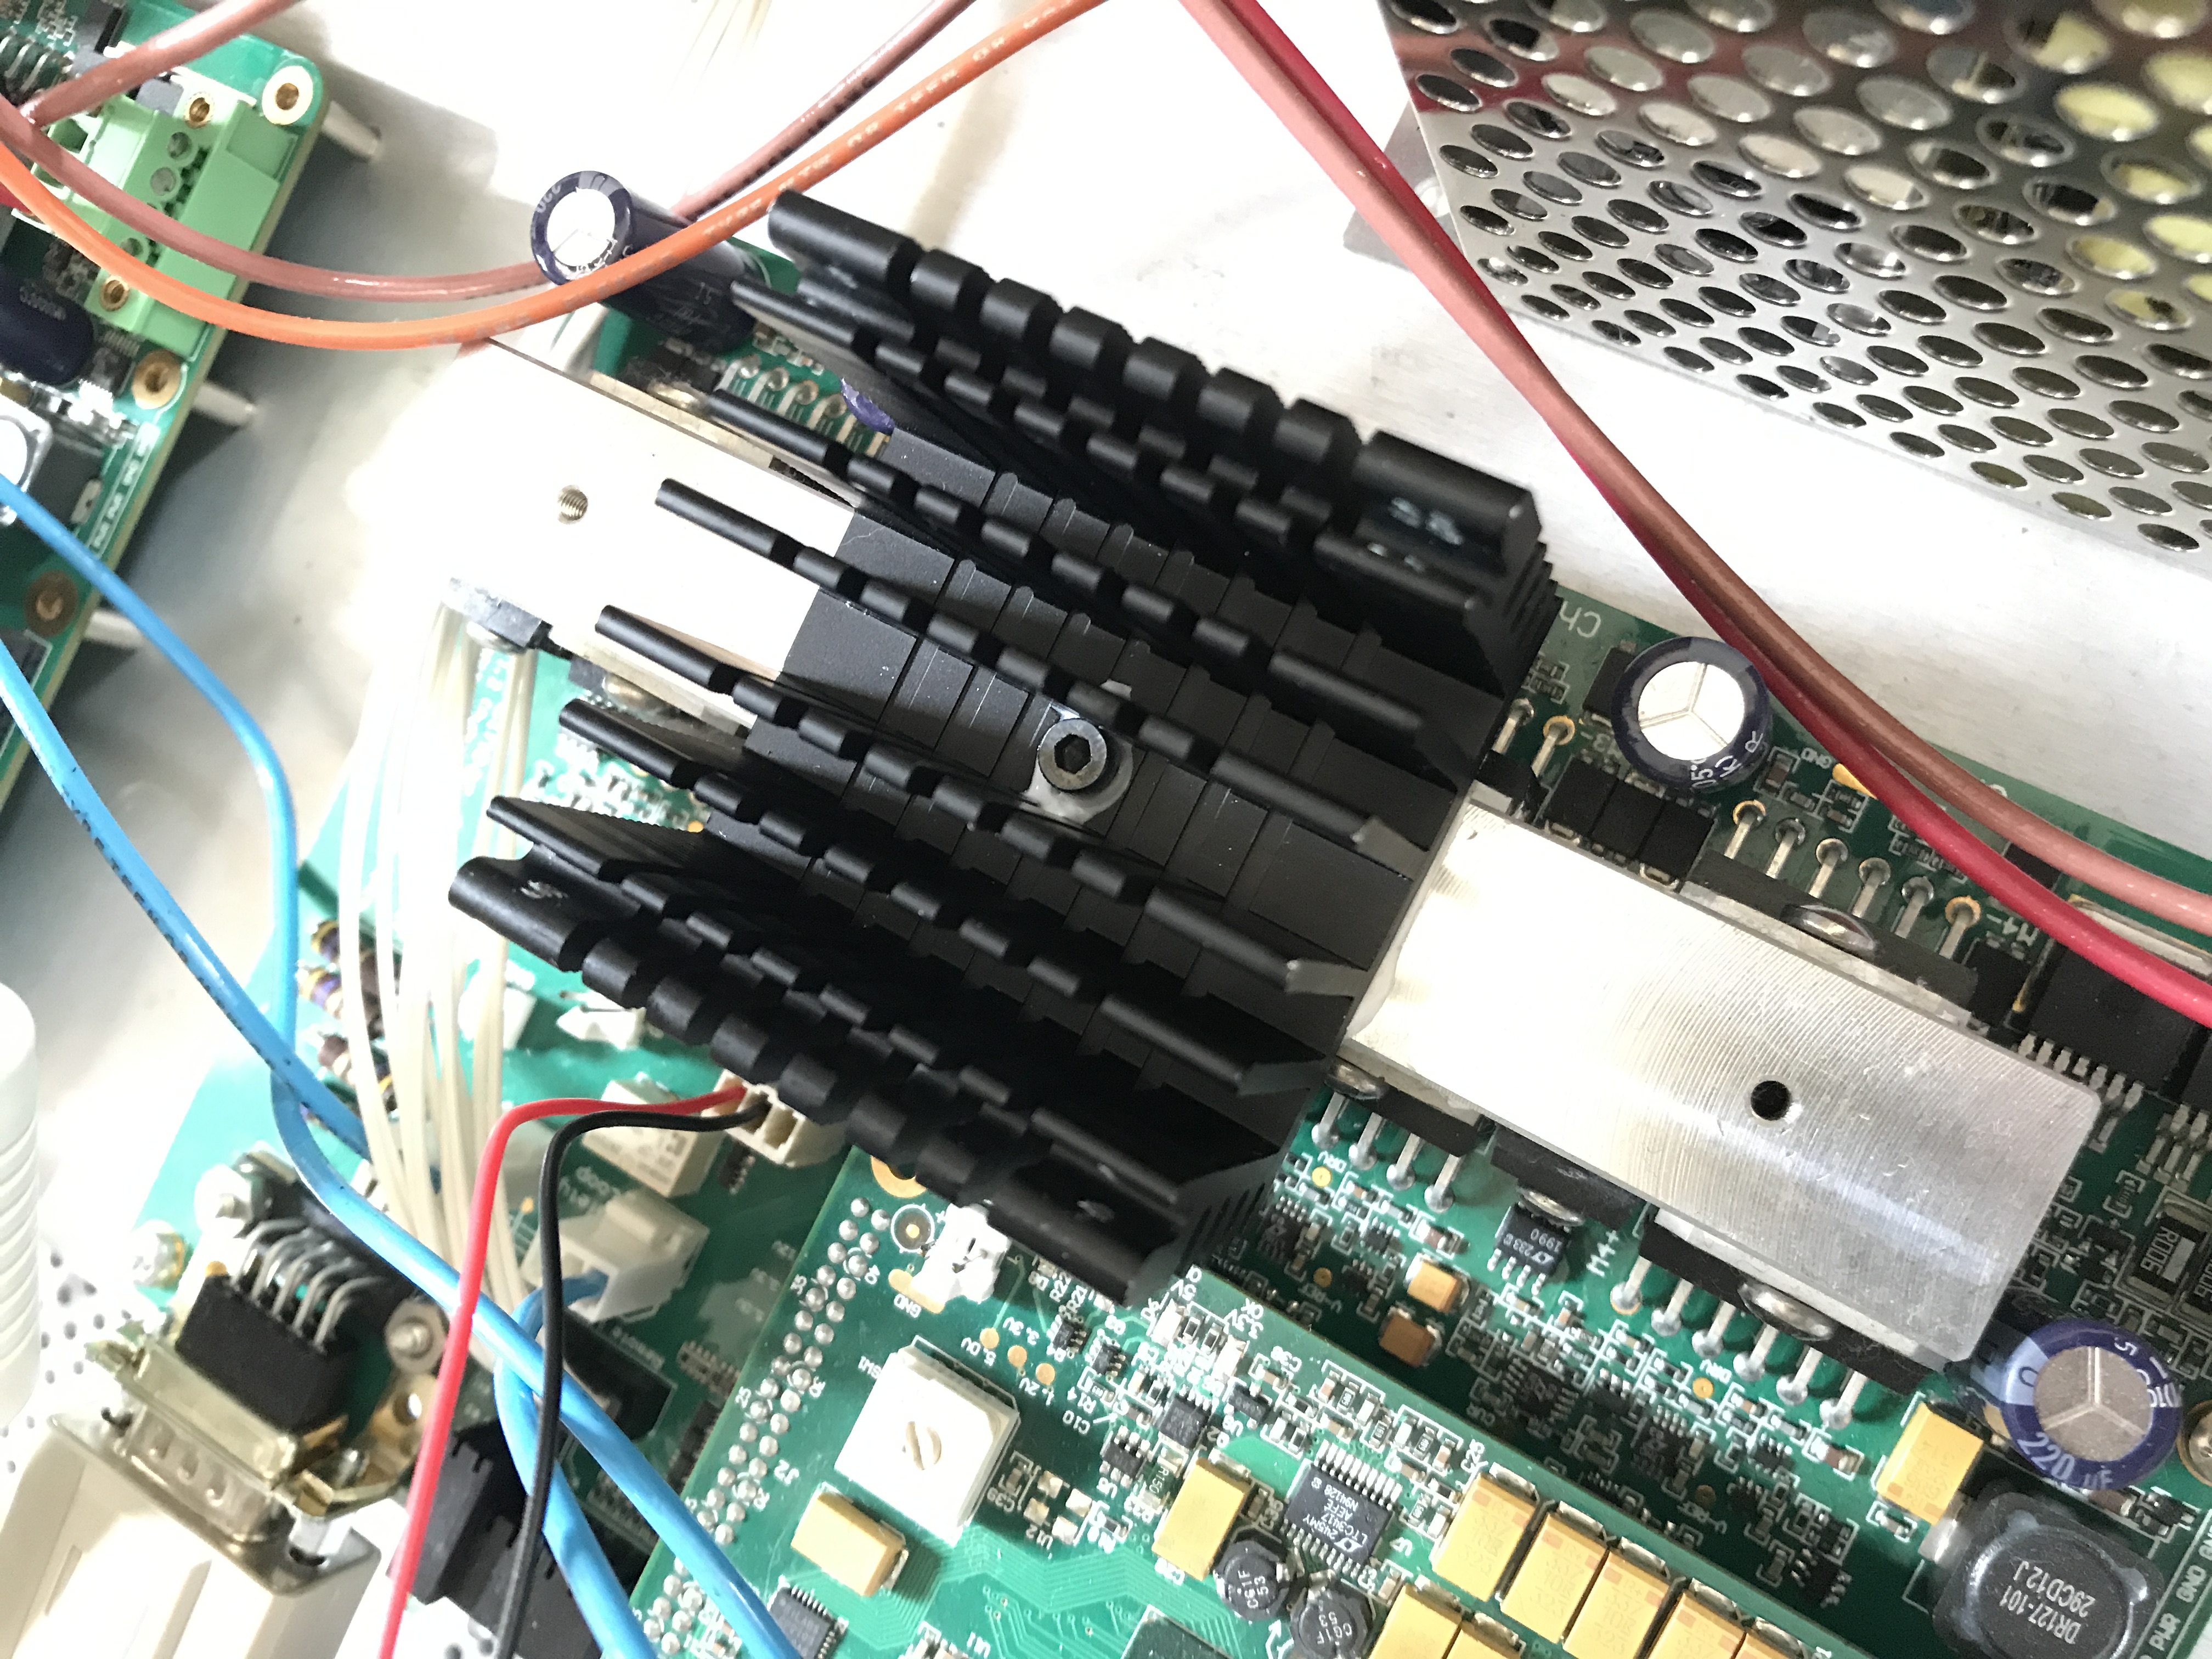
Heat sink mounted
The plug that comes with the StarTech fans is not compatible with the dVRK QLA power plugs! You must reconfigure it to match the QLA wiring. The pins in the white housing (fan plug) can be removed, you need to gently pull on the wire while pushing on the little metal tab on the side of the plug. Once you’ve pulled all the pins, you can cut the yellow wire and re-insert the other two pins (black and red) to match the QLA. The QLA power plugs are labeled with “12V” and “GND”. You must reconfigure the fan’s plug, so the black wire goes to “GND” and the red wire goes to “12V”. Make sure your wiring matches the photos below, i.e. the plug is not symmetrical.
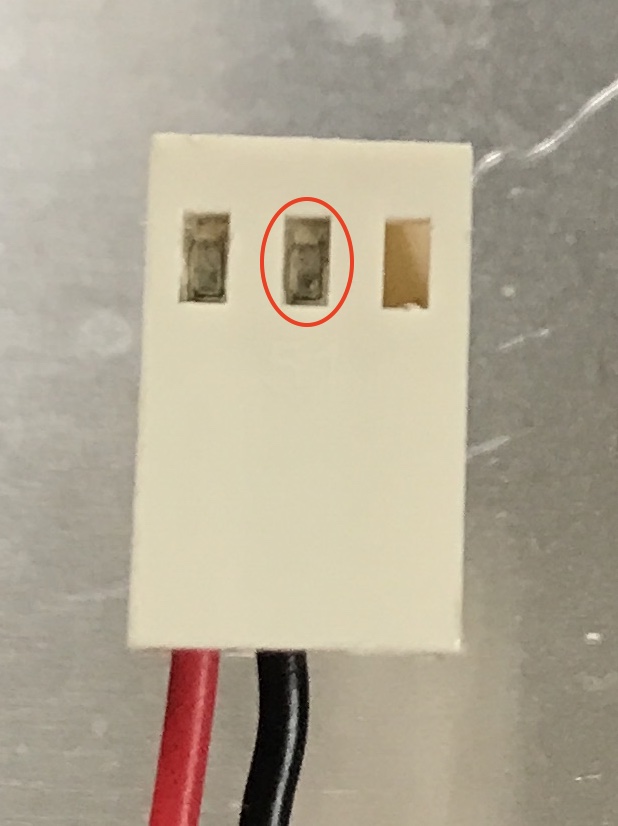
Connector (a)
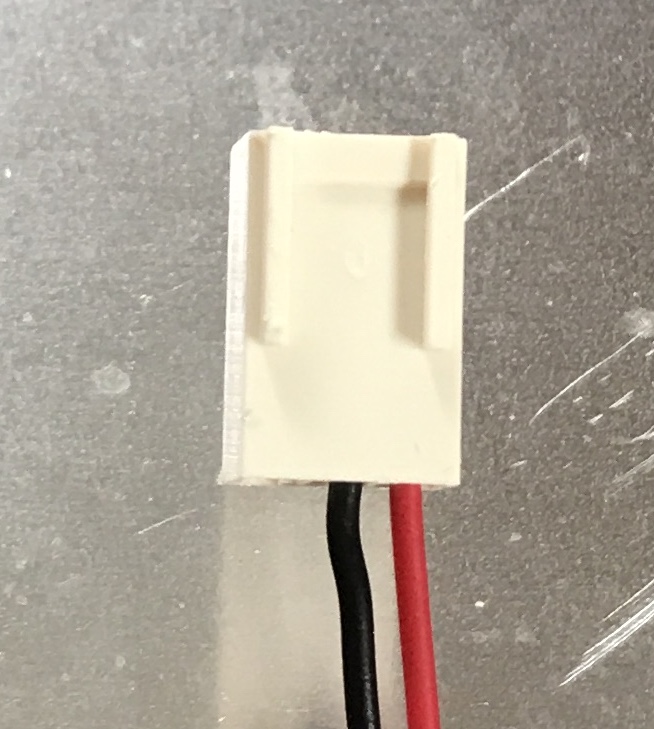
Connector (b)
You can then screw the fan back on top of the heat sink and plug it. There are three 12V connectors on the QLA, all equivalent. Note that one of them might already be used for the whole controller case fan. The fan’s plug still has room for 3 pins while the QLA plugs only have two pins, so there are two physical ways to plug the fans. Make sure you plug it so the two wires (black and red) and aligned with the QLA plug.
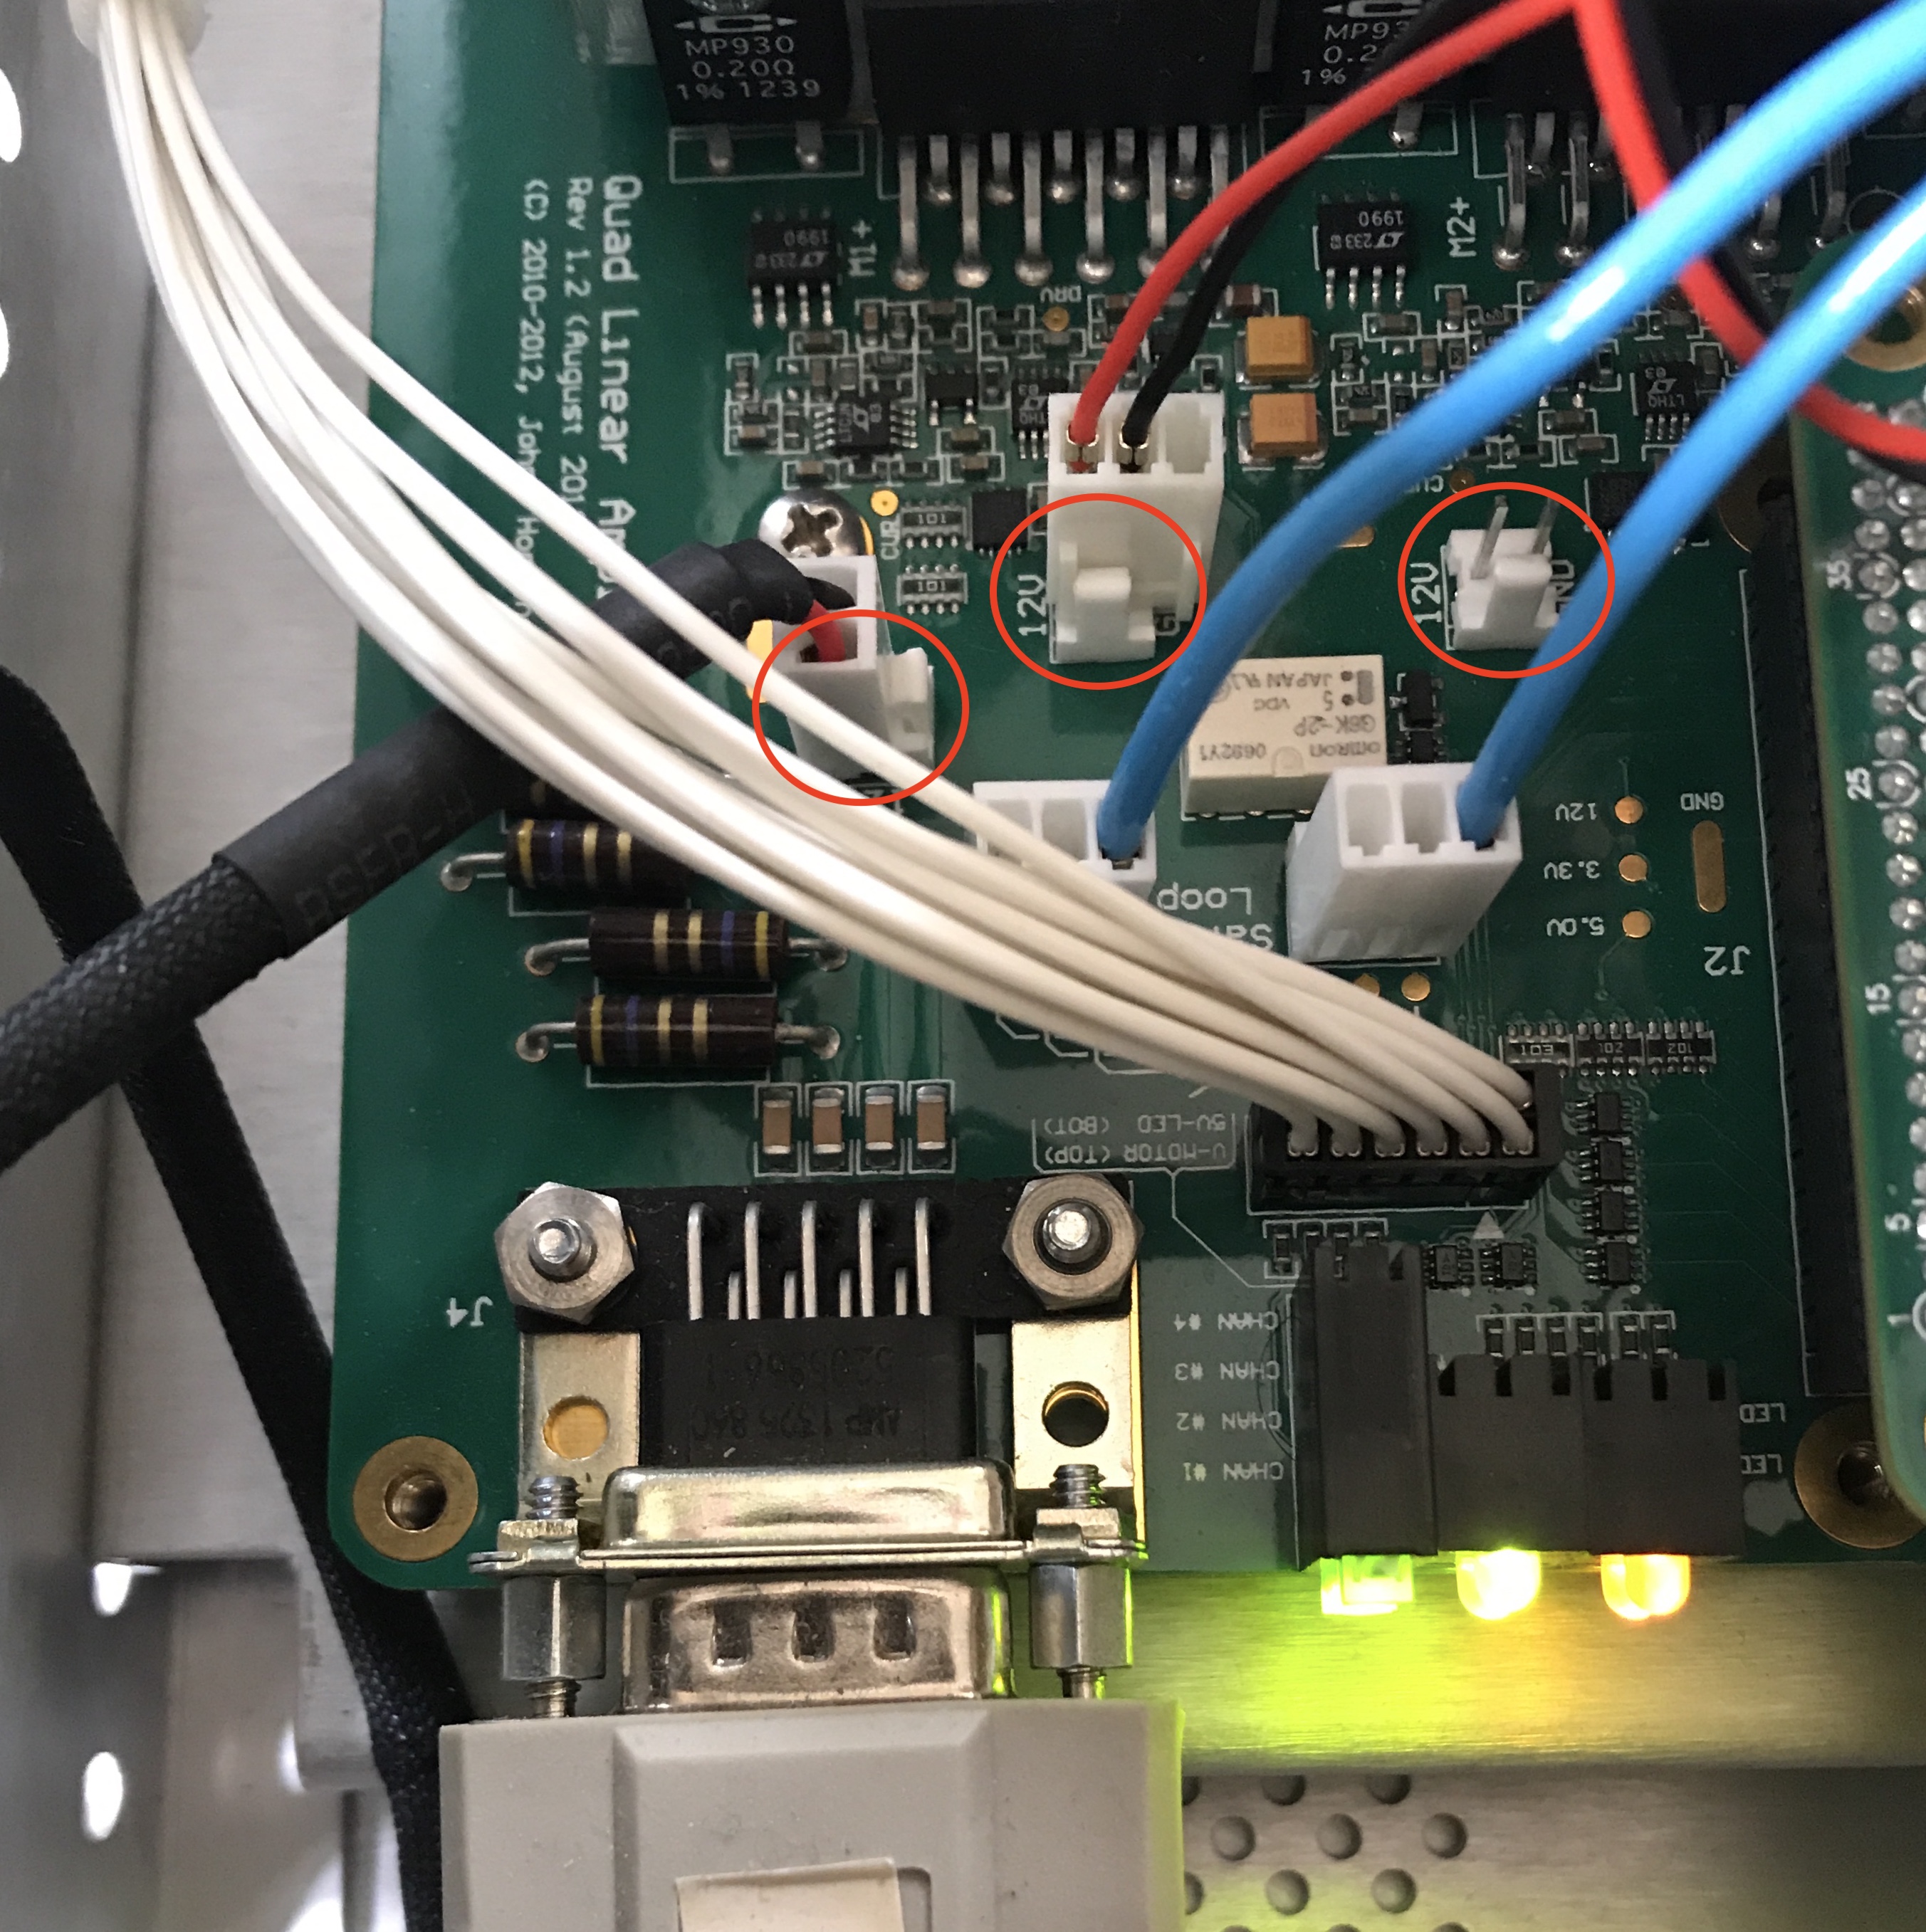
12V connectors on a QLA
All set
Results
This was tested on the SUJ Classic controller, dSIB rev 2.0.
Fan |
Time |
Temperature |
|---|---|---|
off |
0:00 |
29 C (room) |
off |
0:15 |
44 C |
off |
0:30 |
50 C |
on |
0:40 |
46 C |
on |
0:45 |
37 C |
on |
0:50 |
34 C |
Without the fan the temperature seems stable around 50 C. With the fan, the temperature goes down to 34 C.